'VPS Reseller Module' Setup
1. Open 'VPS Reseller Module'
In oder to do it you need to login to your WHMCS Admin Panel and go to Addons -> VPS Reseller Module

2. Connection with remote host
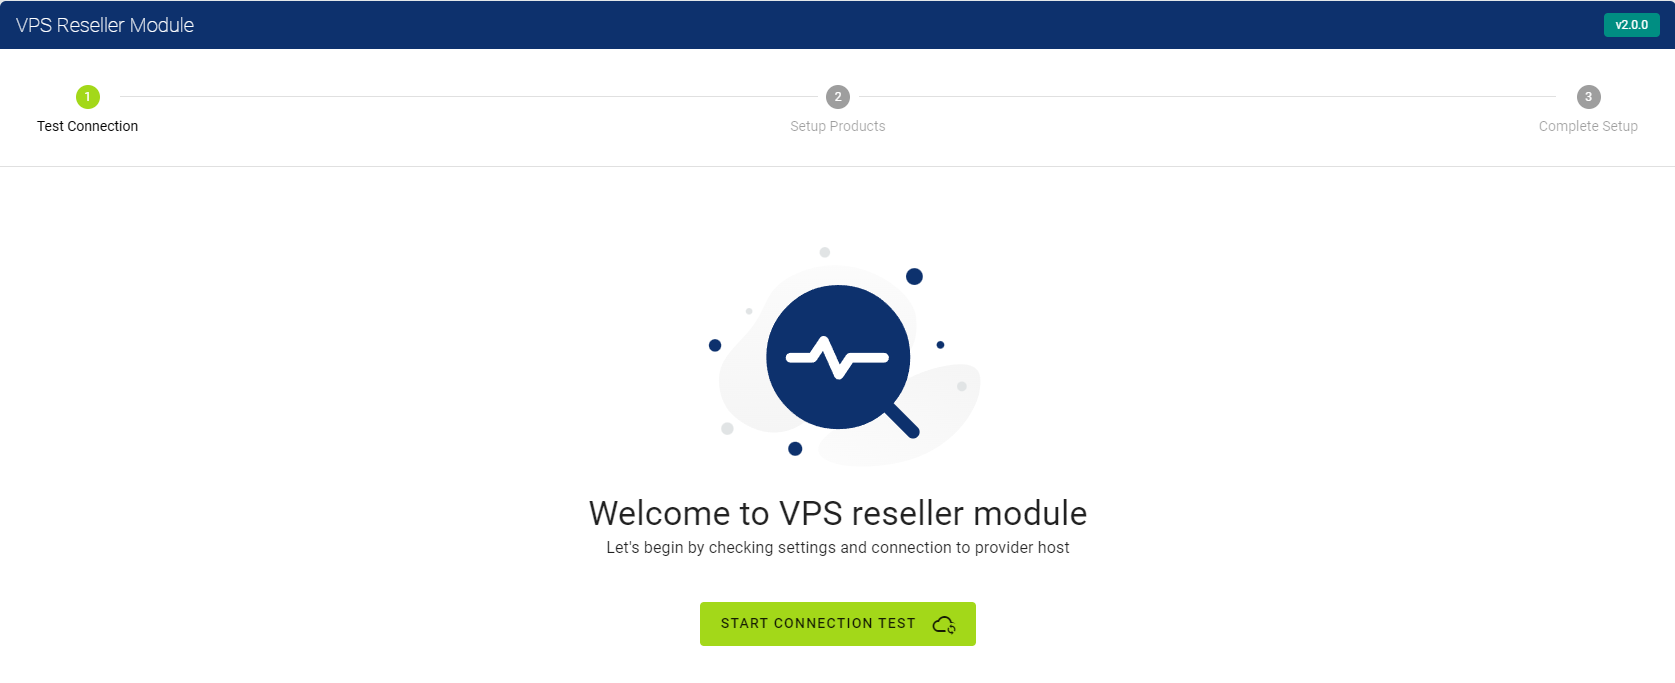
1st step if for ensuring your connection with remote host.
In order to test connection press on green button.
-
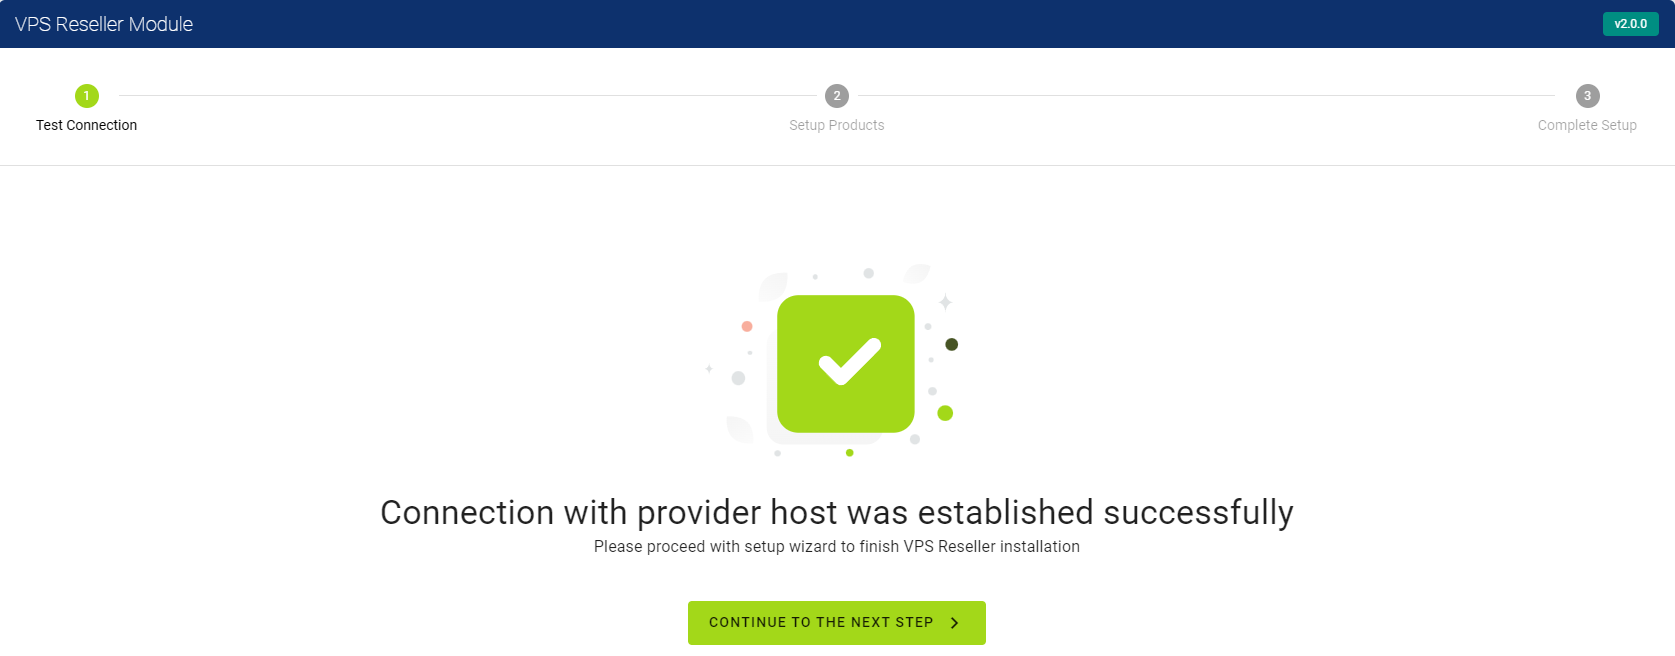
If your connection with remote host is established successfully you will see success message then you can press on 'Next Step' button.
-
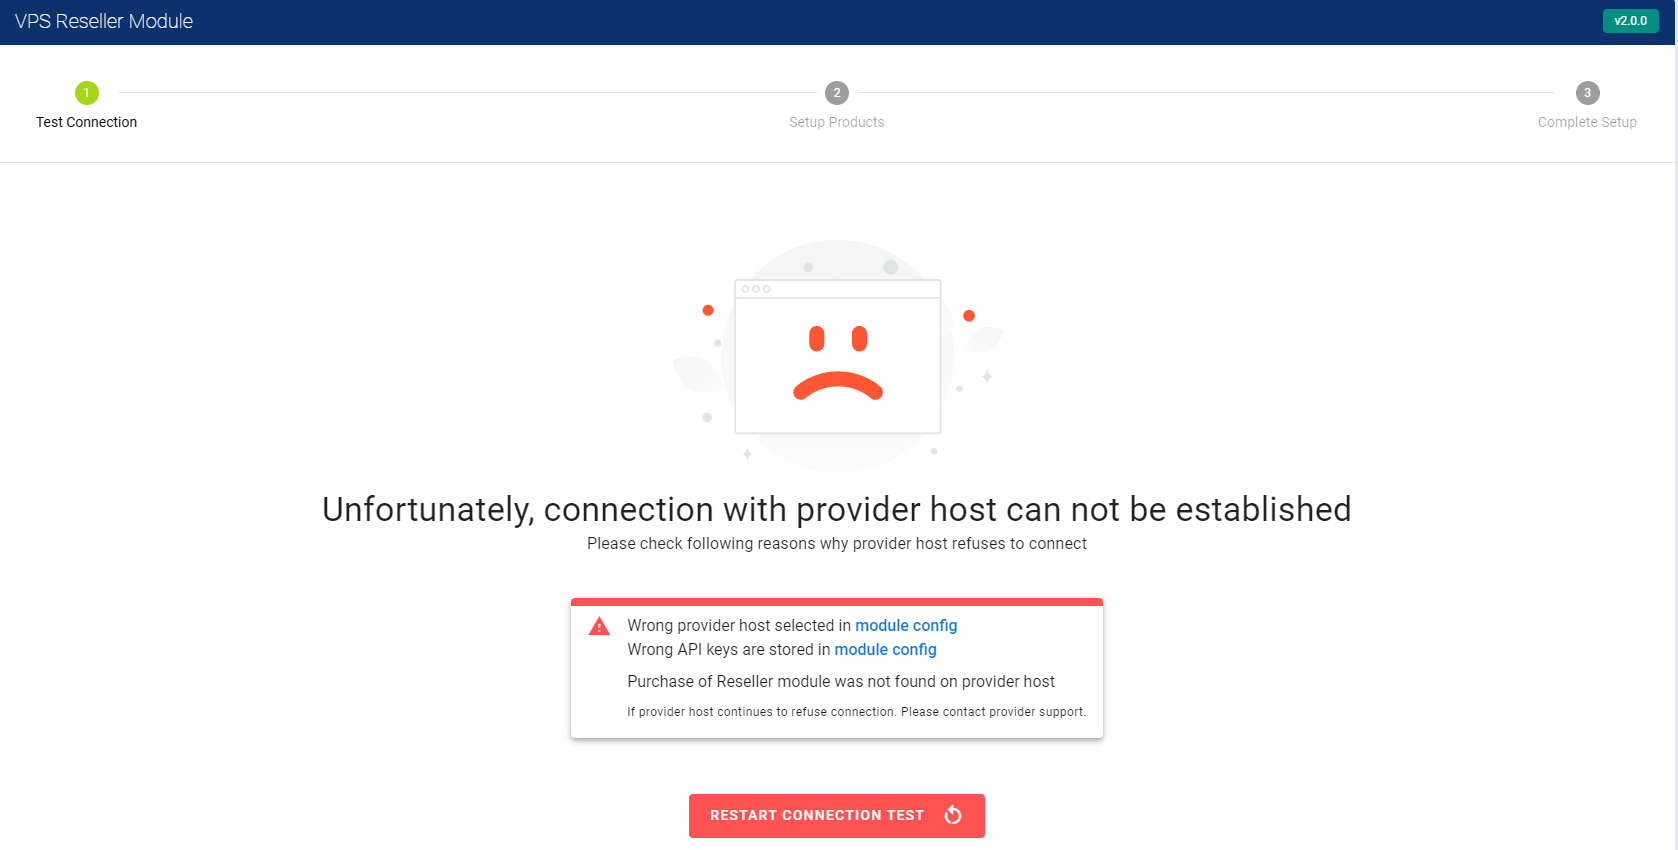
If your connection with remote host wasn't established successfully you will see error message with explanation how to solve connection issues.
3. Automated product setup
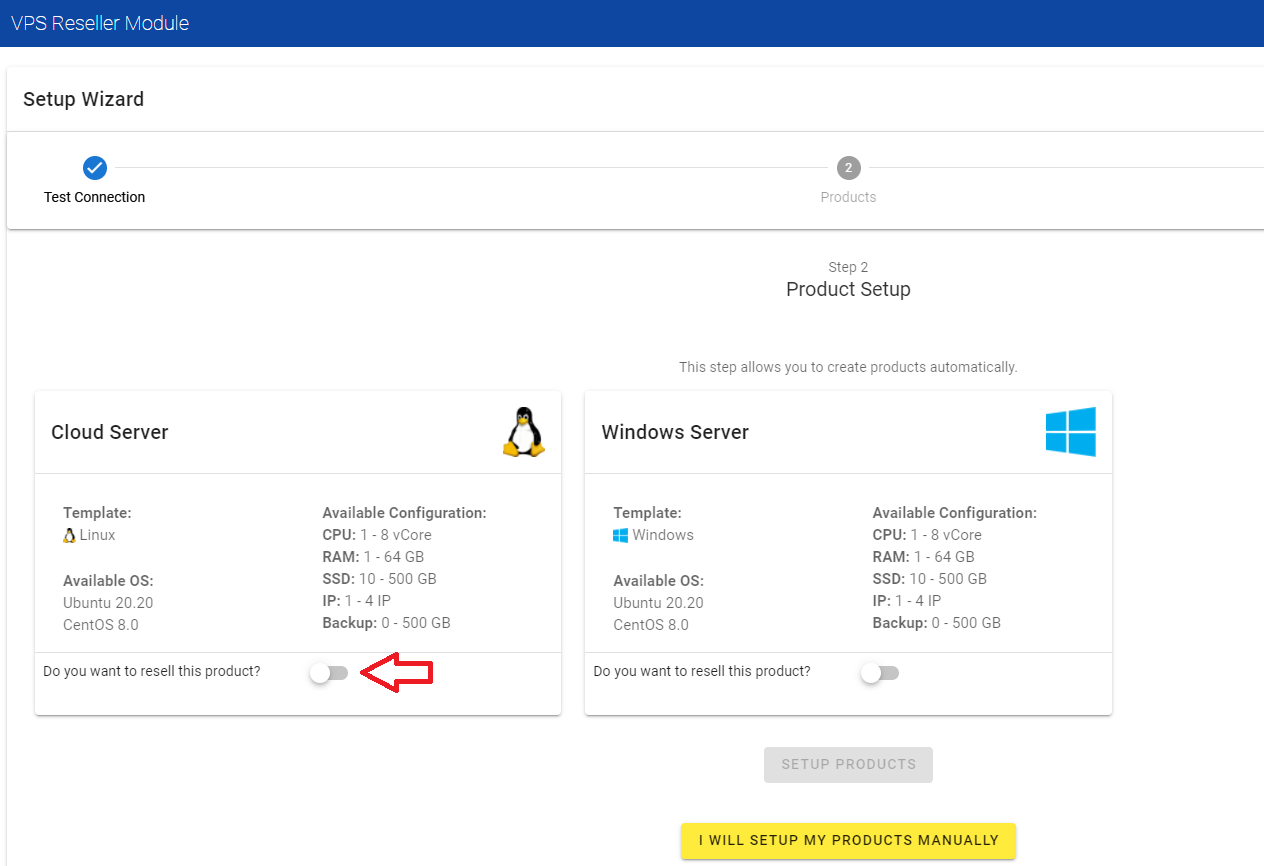
In this step you select automated product setup that will create new:
- Selected products (created product will be hidden)
- Configuration options for selected products
- Default plans for selected plans that can be adjusted by your need later.
If you decided to go with automated setup, please mark checkboxes of products you want to resell (marked with red arrow) and press 'Setup products button'.
If you decided to proceed with manual setup please press on 'I will setup my products manually'.
After automated setup you will see success message, then you will need to press on 'Next Step'. And procced with this documentation Step 7.
If you decided to do manual setup please continue following this guide from Step 4.
4. Manual product group setup
In oder to create new product group you need to login your WHMCS Admin panel and go to System Settings -> Products/Services -> Create a New Group
Once you are in New Product Group window you will need to fill:
- Product Group Name
- Product Group Headline
- Product Group Tagline
- Order Form Template mark as 'Standard Cart (Default)' And press 'Save Changes' button.
5. Manual product setup
In oder to create new product you need to login your WHMCS Admin panel and go to System Settings -> Products/Services -> Create a New Product
Once you are in New Product window you will need to fill:
- For 'Product Type' mark as 'Server/VPS'
- For 'Product Group' select group you want to assign this new product
- For 'Product Name' type a name of you new product
- For 'Module' you need to select 'HostAfrica VPS Reseller Platform'
- For 'Create as Hidden' mark as 'ON' And press 'Continue' button.
You will be redirected to detailed product setup view. Here you will need to do some adjustments too.
- Details tab:
- 'Product Description' (optional)
- 'Require Domain' unmark this checkbox
- 'Hidden' for now leave checkbox marked.
- Pricing Tab:
- 'Payment Type' we recommend you to select 'Recurring'
- Once 'Payment Type' Recurring is selected you will see billing cycles. You can select billing cycles that suits your billing.
- 'Setup Fee' your clients will need to pay this price on product order.
- 'Price' leave it as 0 as prices will be setup later per resources.
- Everything else can be left as it is. Or you can visit WHMCS documentation for more info.
- Module Settings tab:
- For 'Product' field please select product from remote host.
- And highly recommend to mark checkbox near 'Automatically setup the product as soon as the first payment is received'.
- Upgrades tab:
- Mark checkbox near 'Tick this box to allow Upgrading/Downgrading of configurable options' this will allow your clients to do upgrades on their vm's.
And now you can press on 'Save Changes'.
6. Manual product config options setup
In oder to create new product config options you need to login to your WHMCS Admin panel and go to System Settings -> Configurable Options -> Create a New Group
Once you are in New Product window you will need to fill:
- Fill 'Group Name'
- Fill 'Description'
- For 'Assigned Products' you need to select your new products what you created in Step 5. (Important note: Windows and Linux products must have different Config option groups).
Once all fields are filled please press on 'Save Changes'.
After changes are saved you will see new button 'Add New Configurable Option'. By pressing on it new window will open.
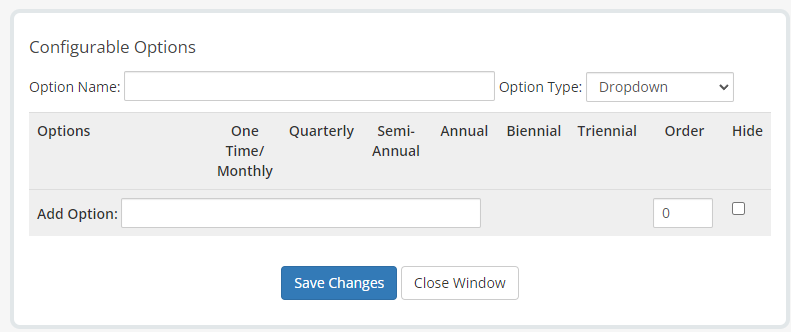
In this window you will have to setup config options for Windows and/or Linux products.
You can read more here
Linux product config options:
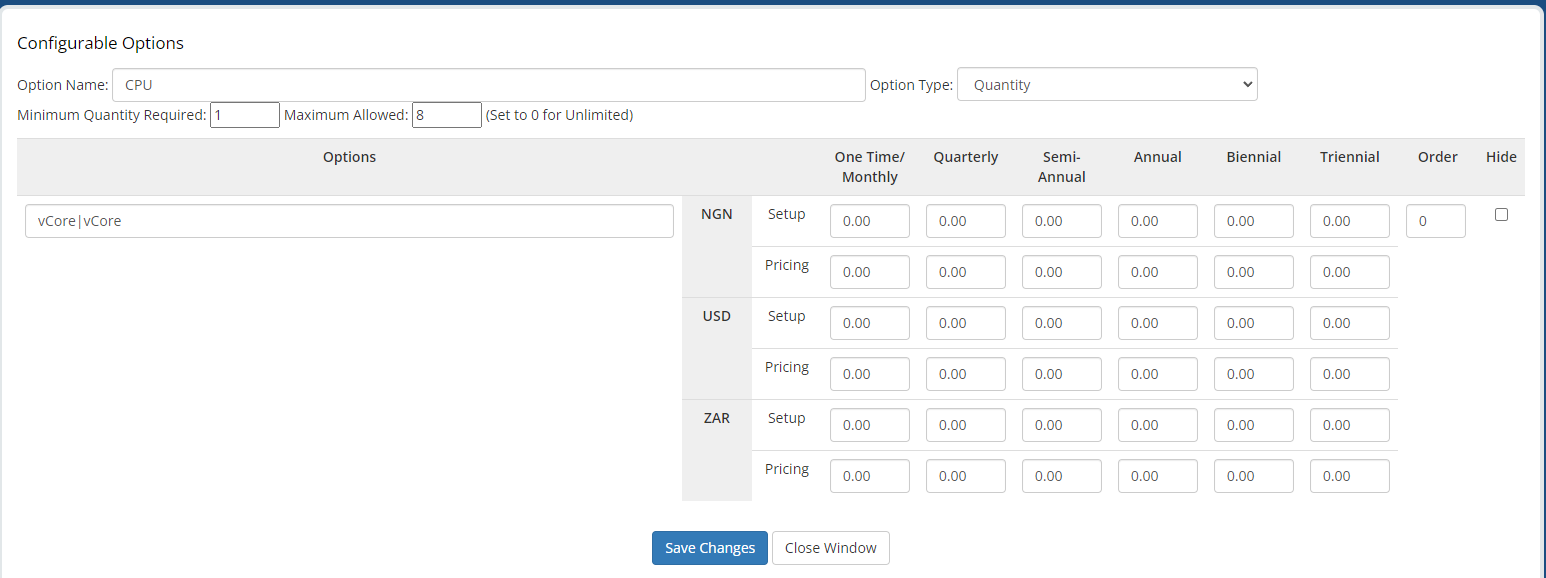
- CPU
- Option Name -> CPU
- Option Type -> Quantity
- Minimum Quantity Required -> 1 (if you don't see this field after changing 'Option Type' to Quantity. Press 'Save Changes' this field fill appear)
- Maximum Allowed -> 8 (if you don't see this field after changing 'Option Type' to Quantity. Press 'Save Changes' this field fill appear)
- Options -> vCore|vCore
- RAM
- Option Name -> RAM
- Option Type -> Quantity
- Minimum Quantity Required -> 1 (if you don't see this field after changing 'Option Type' to Quantity. Press 'Save Changes' this field fill appear)
- Maximum Allowed -> 64 (if you don't see this field after changing 'Option Type' to Quantity. Press 'Save Changes' this field fill appear)
- Options -> GB|GB
- Disk
- Option Name -> HDD
- Option Type -> Quantity
- Minimum Quantity Required -> 10 (if you don't see this field after changing 'Option Type' to Quantity. Press 'Save Changes' this field fill appear)
- Maximum Allowed -> 500 (if you don't see this field after changing 'Option Type' to Quantity. Press 'Save Changes' this field fill appear)
- Options -> GB|GB
- IP
- Option Name -> IP
- Option Type -> Dropdown
- Add Option -> 1|1
- BACKUP
- Option Name -> BACKUP
- Option Type -> Dropdown
- Add Option ->
0|None
50|50 GB
100|100 GB
150|150 GB
200|200 GB
just like in example: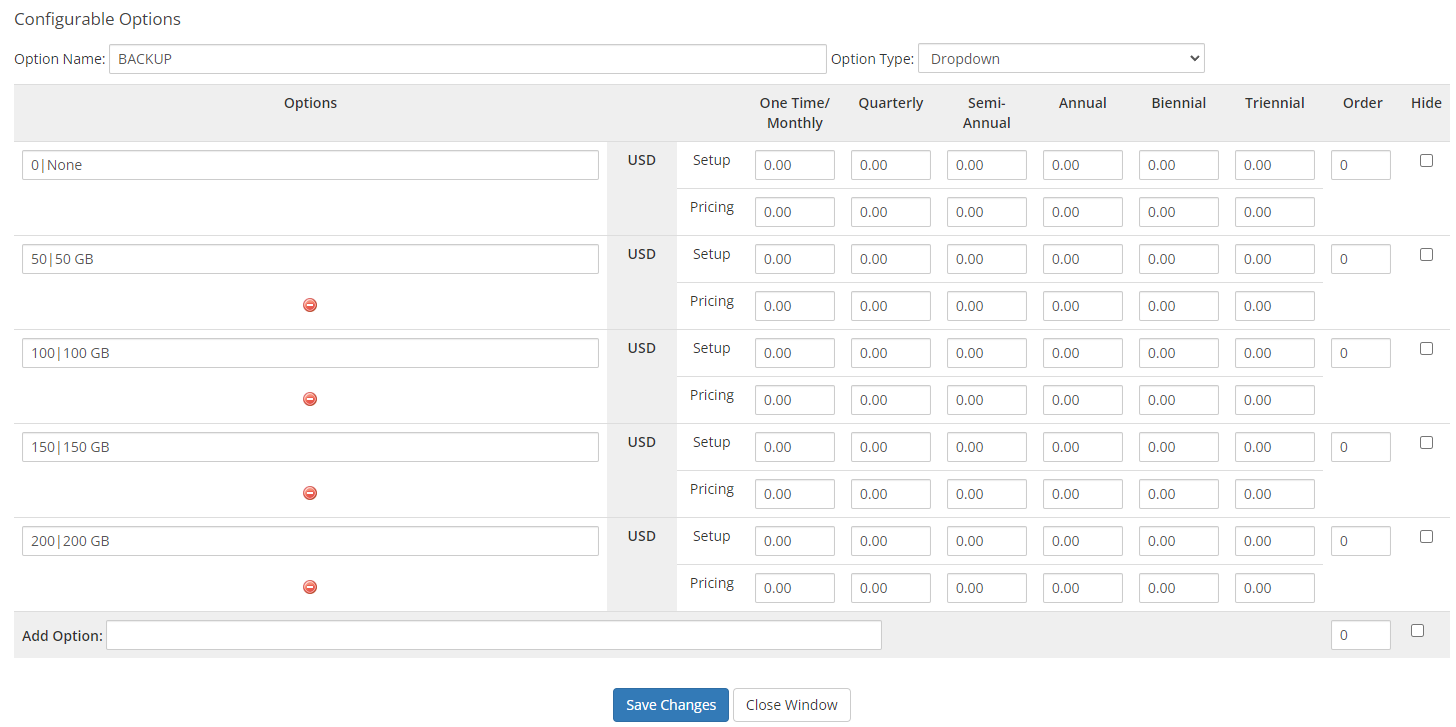
- OS Template
- Option Name -> OS Template
- Option Type -> Dropdown
- Add Option ->
d3eadab1-ffd7-49e1-9b8d-ed0fcac35e4g|Ubuntu 20.20
d3eadab1-ffd7-49e1-9b8d-ed0fcac35e47|CentOS 8.0
just like in example: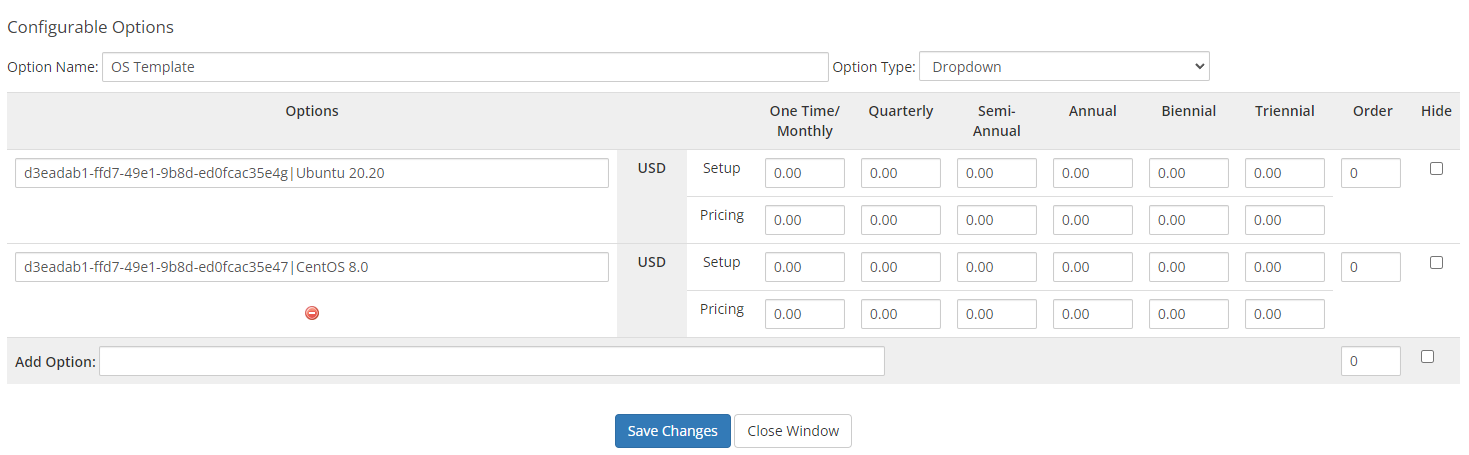
Windows product config options:
- CPU
- Option Name -> CPU
- Option Type -> Quantity
- Minimum Quantity Required -> 1 (if you don't see this field after changing 'Option Type' to Quantity. Press 'Save Changes' this field fill appear)
- Maximum Allowed -> 8 (if you don't see this field after changing 'Option Type' to Quantity. Press 'Save Changes' this field fill appear)
- Options -> vCore|vCore
- RAM
- Option Name -> RAM
- Option Type -> Quantity
- Minimum Quantity Required -> 1 (if you don't see this field after changing 'Option Type' to Quantity. Press 'Save Changes' this field fill appear)
- Maximum Allowed -> 64 (if you don't see this field after changing 'Option Type' to Quantity. Press 'Save Changes' this field fill appear)
- Options -> GB|GB
- Disk
- Option Name -> HDD
- Option Type -> Quantity
- Minimum Quantity Required -> 10 (if you don't see this field after changing 'Option Type' to Quantity. Press 'Save Changes' this field fill appear)
- Maximum Allowed -> 500 (if you don't see this field after changing 'Option Type' to Quantity. Press 'Save Changes' this field fill appear)
- Options -> GB|GB
- IP
- Option Name -> IP
- Option Type -> Dropdown
- Add Option -> 1|1
- BACKUP
- Option Name -> BACKUP
- Option Type -> Dropdown
- Add Option ->
0|None
50|50 GB
100|100 GB
150|150 GB
200|200 GB
just like in example:
- OS Template
- Option Name -> OS Template
- Option Type -> Dropdown
- Add Option ->
d3eadab1-ffd7-49e1-9b8d-ed0fcac35e4g|Windows Server 16
d3eadab1-ffd7-49e1-9b8d-ed0fcac35e47|Windows Server 19
just like in example: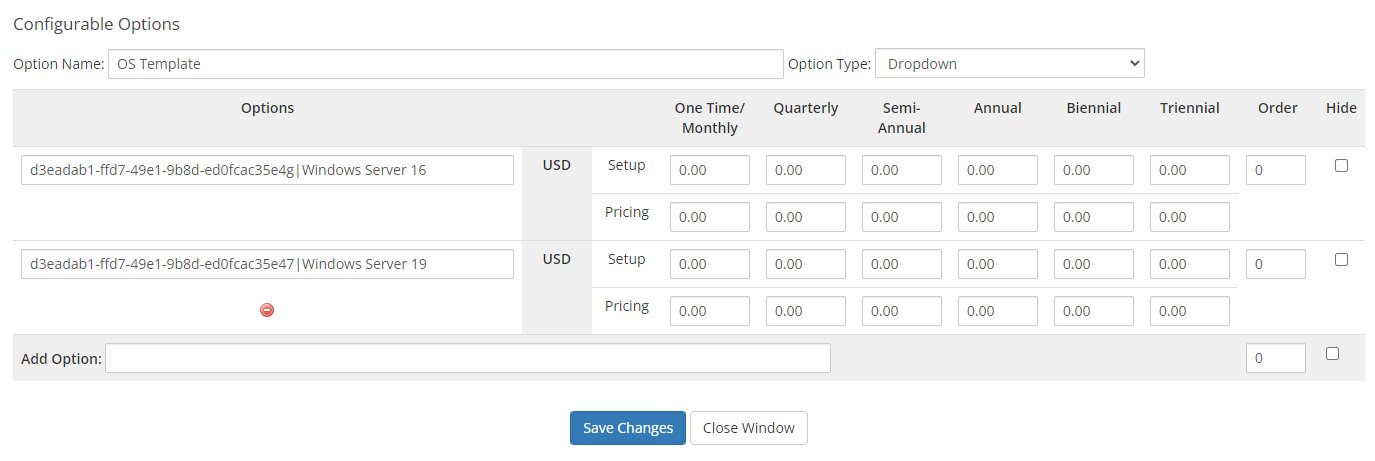
7. Config option prices
You need to update config options prices.
- For auto generated config options:
- Auto Generated By HostAfrica VPS Reseller Module: Linux Cloud Server
- Auto Generated By HostAfrica VPS Reseller Module: Windows Cloud Server
- For manually created config options:
- Config options gruops that you created in Step 5 - Step 6
For every config option fill prices as you want in here:
Once prices are configured please follow next guide. How to setup custom plans.